 Bellingham
 Building New in Edgemoor: What the Site Demands From Your Windows
Edgemoor sits on the bluffs above Bellingham Bay, which means most new builds here face some combination of open water exposure, wind-driven rain, and the kind of persistent shade and moisture that grows moss on anything that holds still long enough. If you're framing a new home or a major addition in this neighborhood, the windows aren't just a design choice — they're one of the first things standing between your framing and a Whatcom County winter.
Salt-laden air off the bay accelerates corrosion on fasteners, hinges, and cheap cladding. Driving rain, especially in a southwest wind, tests every flashing detail around a rough opening. And the long stretch of gray, wet months from October through April means any water that gets behind the window cladding or house wrap doesn't dry out quickly — it just sits there. None of this is exotic information to anyone who's built on the water side of Bellingham, but it does change how a window opening should be built, flashed, and sealed compared to a subdivision further inland.
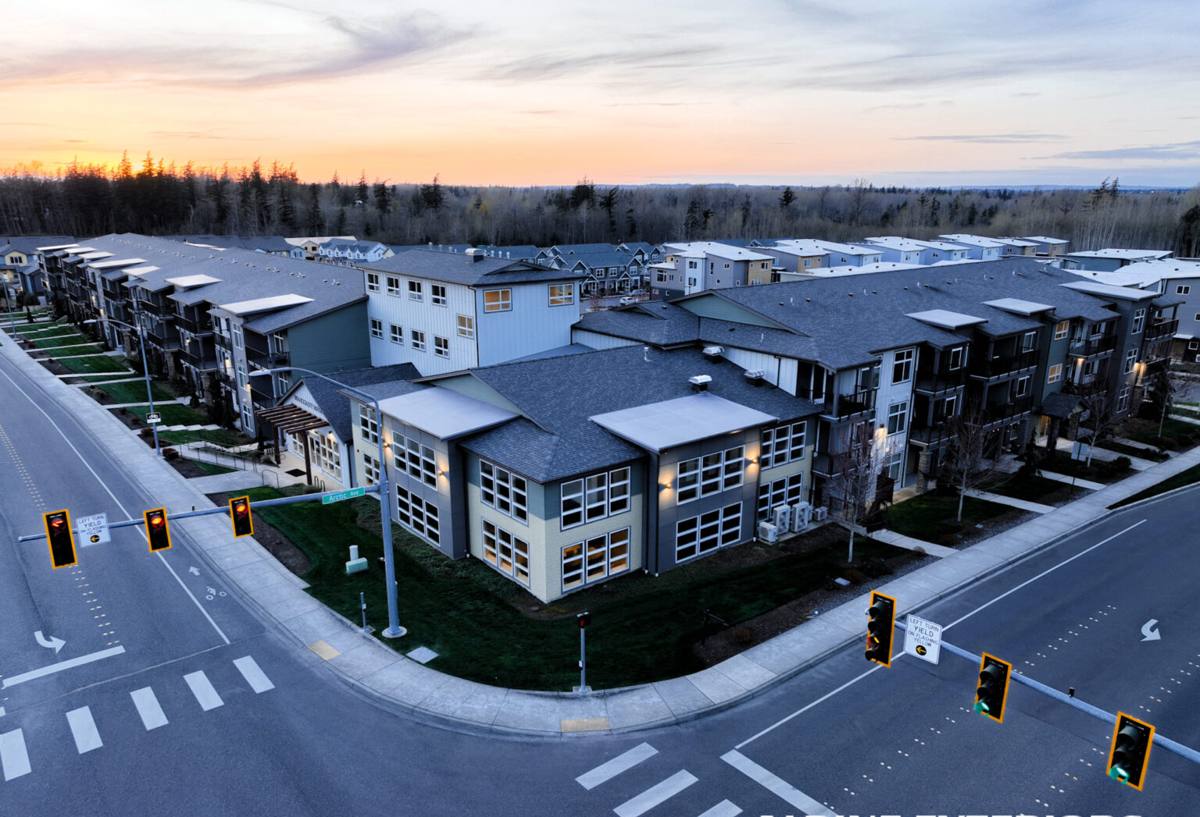
New-Construction vs. Replacement Windows: Why the Install Method Is Different
A lot of homeowners assume a window is a window, but new-construction and replacement units are installed in fundamentally different ways, and mixing up the approach is one of the more common (and expensive) mistakes we see corrected years later.
New-Construction Units
These windows have a nailing flange (fin) around the perimeter and are meant to be installed into open framing before siding goes on. The flange gets integrated directly into the weather-resistive barrier and flashing system, which is the correct approach for any ground-up build or full wall replacement — and it's the only approach that lets us build a fully layered, shingled drainage plane from the sill up.
Replacement (Insert) Units
These fit into an existing frame with the old exterior trim left in place. They're the right call for a remodel where the wall isn't being opened up, but they're the wrong call for new construction — an insert window in a brand-new rough opening skips the flashing integration a new build should have from day one.
For an Edgemoor new build, there's no reason to use anything but true new-construction flange units. It's the only method that lets us control every layer of the water management system before the wall is ever closed in.
What a Correct New-Construction Install Actually Involves
The window unit itself gets most of the attention, but the install detail around it is what determines whether that window performs for thirty years or starts leaking in five. On a bay-exposed lot, we treat every opening as if it will see wind-driven rain at some point, because on this bluff it will.
- Sloped sill pan flashing under every rough opening, so any water that does get past the window has somewhere to go besides your framing
- Corner-sealed, shingle-lapped integration with the house wrap — flashing tape at the head, jambs, and sill installed in the correct order so water sheds outward at every layer, not just at the surface
- Backer rod and low-modulation sealant at the exterior trim joint, sized for the gaps actually present rather than caulked over as an afterthought
- Shimming and fastening that keeps the frame square and doesn't rack the sash under wind load — a warped frame is one of the most common causes of a "leaking" window that was never actually leaking through the glass
- Interior air-sealing with backer rod or low-expansion foam, which matters as much for energy performance as the exterior work matters for water
Skipping or rushing any one of these steps doesn't usually show up on a final walkthrough. It shows up two or three winters later as a stain on the interior sill or soft framing discovered during a remodel — which is exactly why we treat flashing sequence as non-negotiable rather than something to speed through to hit a framing schedule.
Choosing Window Products for a Bay-Facing, Salt-Air Lot
Frame material and glass package both matter more on an exposed Edgemoor lot than they would a few miles inland. We'll walk through the real trade-offs rather than pushing one product line, because the right choice depends on your budget, your exposure, and how much upkeep you want to do.
| Frame Material | Salt Air / Moisture Behavior | Maintenance | General Cost Position |
|---|---|---|---|
| Vinyl | Won't corrode or rot; performs well in most exposures | Low — occasional cleaning | Most economical |
| Fiberglass | Dimensionally stable, strong resistance to moisture and temperature swings | Low | Mid to upper-mid |
| Aluminum-clad wood | Good exterior protection if cladding and seams are installed correctly; interior wood still needs to stay dry | Moderate — depends on cladding integrity over time | Higher |
| Bare wood | Attractive but most vulnerable to the wet, shaded conditions common on bluff lots | Highest — regular refinishing | Varies |
On glass, we generally spec double-pane units with a low-E coating and argon fill as the baseline for this climate — it's a meaningful difference in comfort and condensation resistance for a modest cost bump, and it pairs well with the moisture control built into the flashing detail described above. For homes with more direct wind exposure toward the water, we'll also talk through impact-resistance and higher structural ratings, since sustained wind load and wind-driven rain are a bigger factor here than on a typical inland lot.
Our New-Construction Window Process
We work as a specialty sub on new builds and additions, coordinating directly with your builder or general contractor rather than working around them.
1. Plan Review and Product Selection
We review the window schedule against the actual framing plan, confirm rough opening sizes, and walk through frame material, glass package, and performance ratings suited to the specific exposure of the lot.
2. Pre-Install Site Check
Before any window goes in, we verify rough openings are square, properly sized, and that the weather-resistive barrier is installed and lapped correctly at each opening. Catching a framing error here costs a phone call. Catching it after siding is on costs a lot more.
3. Flashing and Installation
Sill pans, flashing tape, and the window units go in following the sequence described above, opening by opening, with each one shimmed, squared, and fastened to spec.
4. Interior and Exterior Seal-Out
Interior air-sealing and exterior trim/sealant work finish the install, matched to whatever exterior trim or siding package the build is using.
5. Final Walkthrough
We check operation, weep paths, and seal integrity on every unit before we consider the opening done — not just a visual pass from the outside.
Mistakes We Catch on Bluff and Bay-Facing New Builds
A lot of window problems on new construction trace back to a handful of repeatable errors. If you're vetting a builder or sub for an Edgemoor project, this is a reasonable checklist to ask about directly:
- Sill pan flashing skipped or improvised with caulk instead of a proper sloped pan
- House wrap lapped in the wrong order at the window opening, sending water behind the barrier instead of over it
- Nailing flange fastened directly over house wrap with no flashing tape integration
- Openings framed slightly out of square, leaving the window racked and hard to operate under wind pressure
- Exterior sealant used as the only water management strategy instead of as a backup to proper flashing
- Glass package chosen for cost alone, without accounting for the added wind and moisture exposure of a bluff or waterfront lot
None of these mistakes are unique to Edgemoor, but a lot exposed to open water on the bay punishes them faster and more visibly than a sheltered inland site would.
Working With Your Builder or General Contractor
On most new-construction jobs we're brought in by the GC or homeowner as the window specialty sub, scheduled around the framing and house wrap phase. We're comfortable working directly off a builder's plan set and schedule, and we'll flag anything in the rough opening or flashing plan that needs attention before we start — better to raise it at framing than after drywall is up. If you're the homeowner managing your own build, we can also work with you directly to spec product and coordinate timing with your framer.
Why Local, Bellingham-Based Experience Matters Here
Edgemoor's mix of bluff exposure, bay wind, and long wet seasons isn't the same as building a few miles inland in Whatcom County, and it's a different problem than a straightforward replacement job on a sheltered wall. A crew that's installed windows across Bellingham's waterfront and bluff neighborhoods knows which openings tend to see the worst wind-driven rain, how much cladding and sealant to plan for on an exposed elevation, and where the moss and moisture problems actually start. That's the kind of judgment that doesn't come from a spec sheet — it comes from having done the work on lots like this one before.
If you're planning a new build or major addition in Edgemoor and want the window package specified and installed correctly from the start, we're happy to take a look at your plans and walk the site. Reach out for a free, no-pressure estimate using the form below.